Introduction
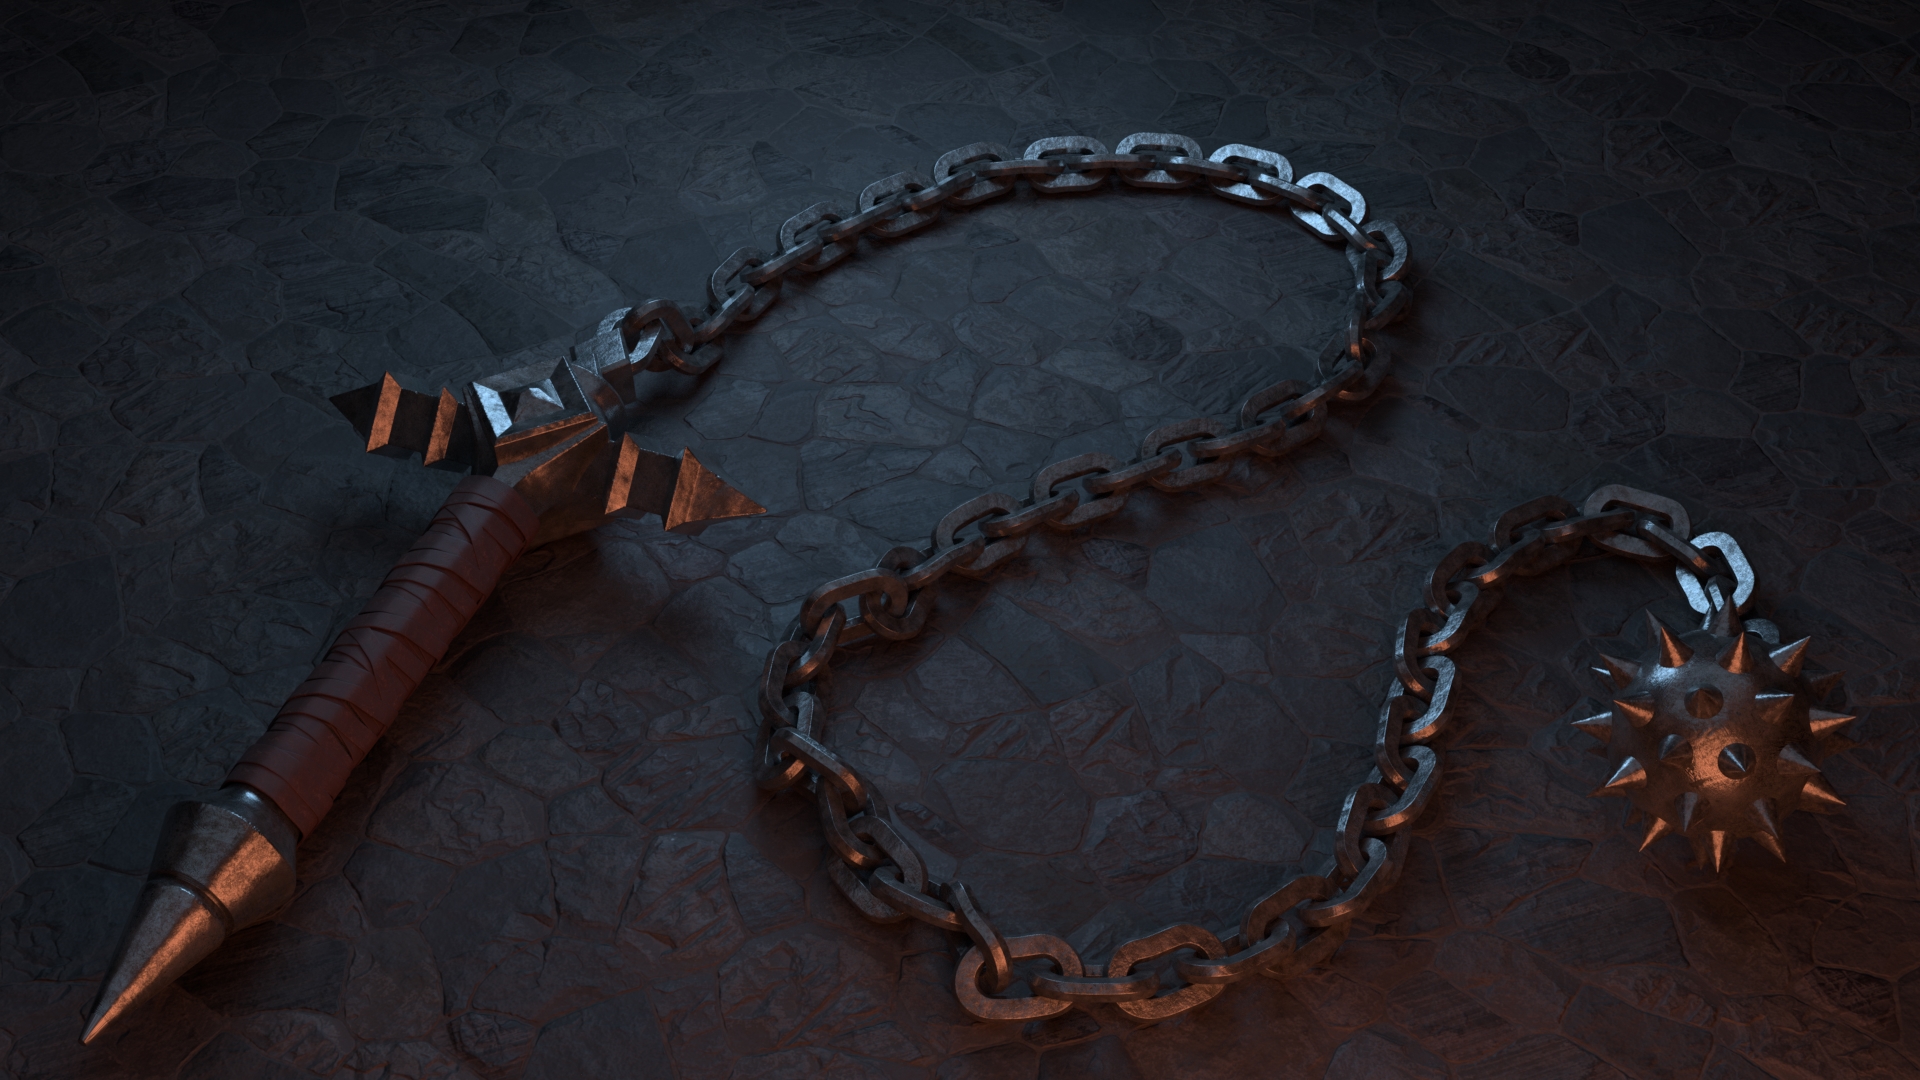
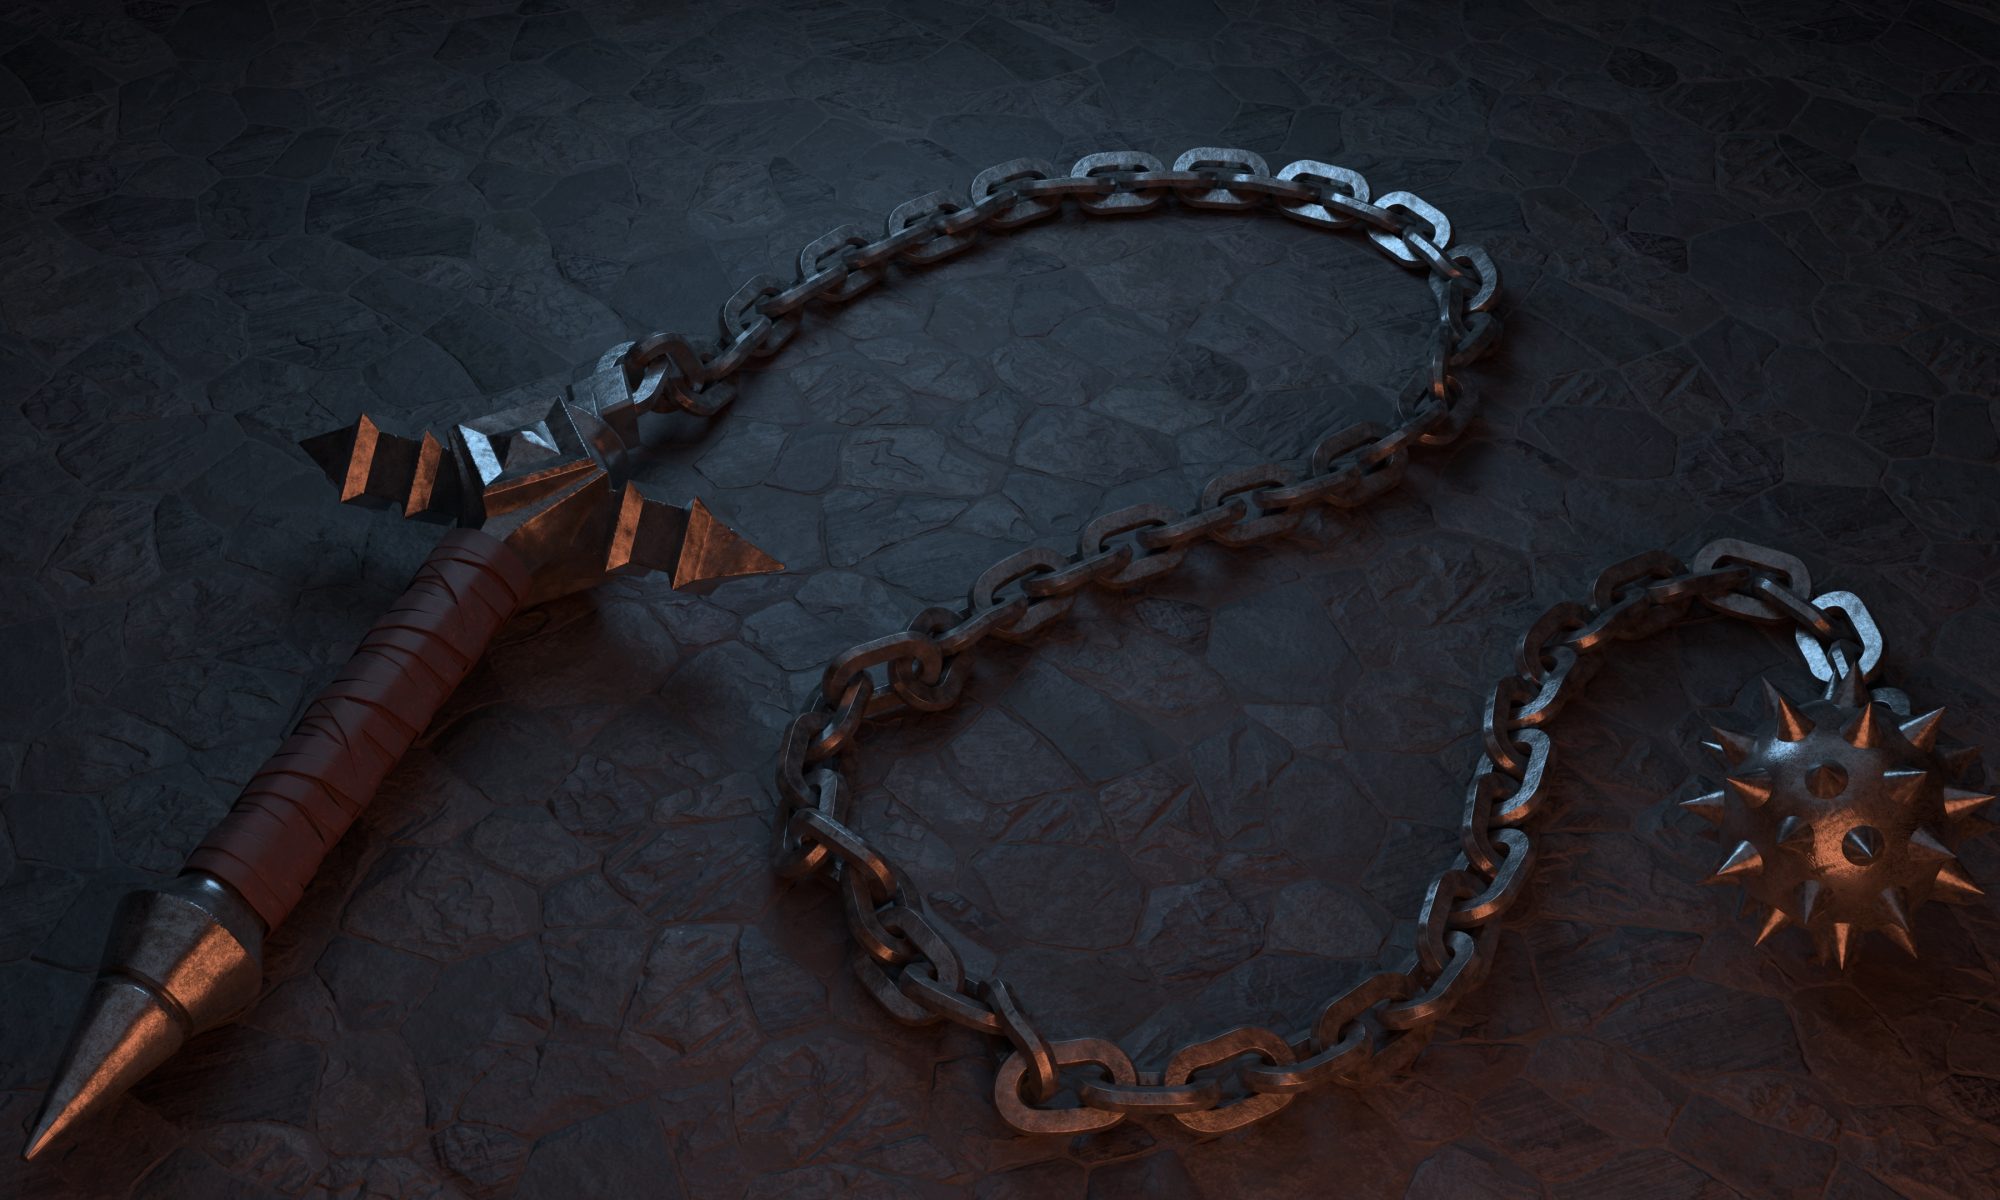
I’ve recently been getting into 3D modeling after following Blender Guru’s awesome tutorials. After I finished both his beginner and intermediate tutorials I wanted to go make a model on my own to apply what I learned. I knew I had to pay homage to one of my favorite game series of all time, Castlevania. What better way to pay homage than to make the main weapon from the series, the vampire killer. In terms of references I made a sort of amalgam of all the versions of the vampire killer over the years. I based the handle after the Lords of Shadows version of the weapon. For the chain I wanted to keep it classic so I used Simon’s most recent rendition from Super Smash Bros. Ultimate.
Making the model
The leather wrappings
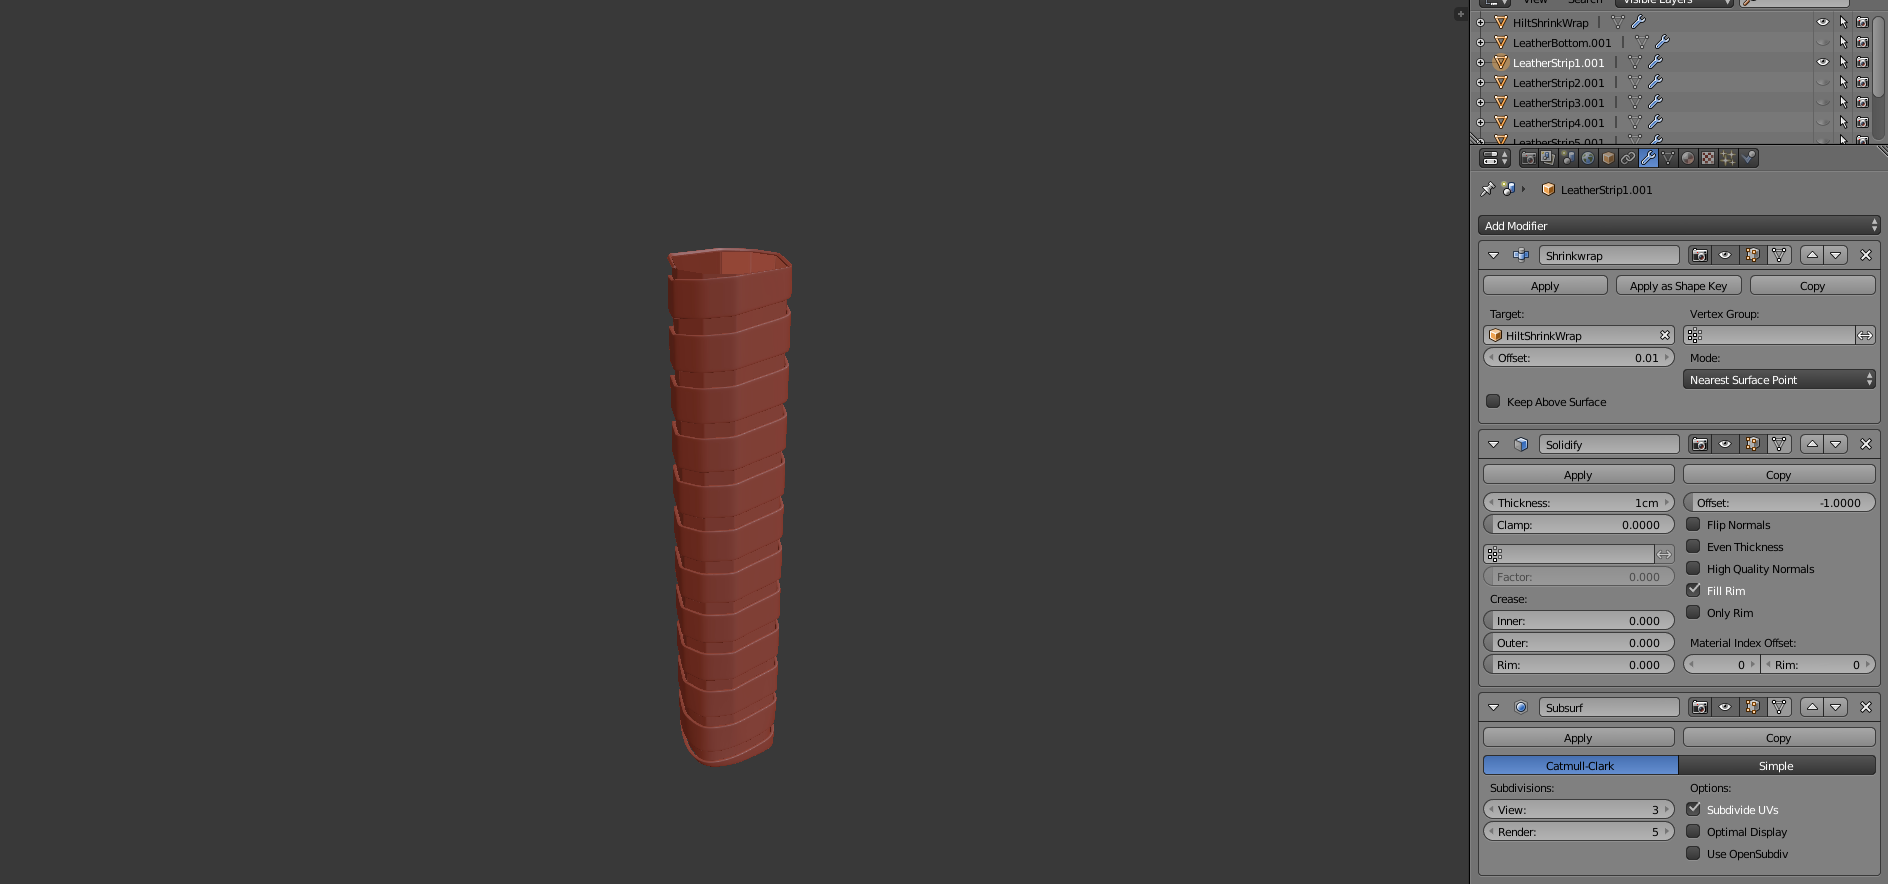
I learned a lot of new useful tricks doing this model. The handle itself was pretty straightforward besides the leather wrappings. After doing some research I came across this tutorial. The jist is you take various helix curves, convert the curve into vertices, then extrude those out to make a flat rectangular mesh. Once you have the mesh you can use a shrink wrap modifier to wrap it around the grip and a solidify modifier to make it look like an actual strip of leather. I made a copy of just the grip portion of the handle because using the whole handle as the shrink wrap target produced weird results.

The spiked ball
Another challenge was making the spike ball at the end of the chain. To do this I made a basic spike shape and set it to be a child of a low-poly ico sphere. I then used Blender’s DupliVerts feature to put the spikes at the vertices of the ico sphere. I made the duplicates “real” and then replaced the ico sphere with a UV sphere. The UV sphere had a subsurf modifier applied to make it look like it does in the final render.
The chain
The chain was probably the easiest object to model, but the hardest to get to how you see it in the final render. I wanted to be able to manipulate and place the chain easily without hand placing each chain link. To do this I used a combination of an array modifier and a curve modifier (using a Bezier curve as the target object) to a single chain link. This combo allowed was then able to position the chain how I wanted. Unfortunately, this slightly morphed the chain links in an undesirable way. I looked into how to fix this, but ultimately decided to live with the deformation since I had been working on this model for about a month. It is barely noticeable in the final render anyway.
Once I was happy with the basic shape of the chain, I set out to have the chain look like it was resting naturally on a surface. Luckily, Blender has a physics engine built in which is great for these types of tasks. Once again, Blender Guru came to the rescue with his tutorial on how to set up rigid bodies. Once I was done setting up the rigid bodies for each chain link I simulated the physics until the chains settled.
Lighting
My lighting setup was pretty simple. I wanted to have that look of a night lit by a full moon. I achieved this by making a giant area light with a blueish tint which sat directly above the chain whip. I added another area light which shown down on the whip from the top left. The point of this light was to mimic the moonlight shining in from a window. Finally, I added a red/orange point light to contrast all the blue light in the scene. This sort of looks like a fireplace in the corner of a room. Overall I’m pretty happy with how the lighting came out. I think it captures the mood of the series pretty well.
Conclusion
Overall I’m happy with how this model turned out. It took me a good deal of time from start to render but I think that was because I had to learn a lot as I went. I think the tricks I learned would be useful for other types of medieval weapons and objects. For my next model I’m going to try something simpler just so I can have more output going forward. Ideally I’d like to finish my next model in about a week or so. Hopefully I will have more to share here soon!


